A guide for a very specific problem, but hey, I had trouble doing it and pieced out the solution from a bunch of sources and advice, so here’s a distillation of that.

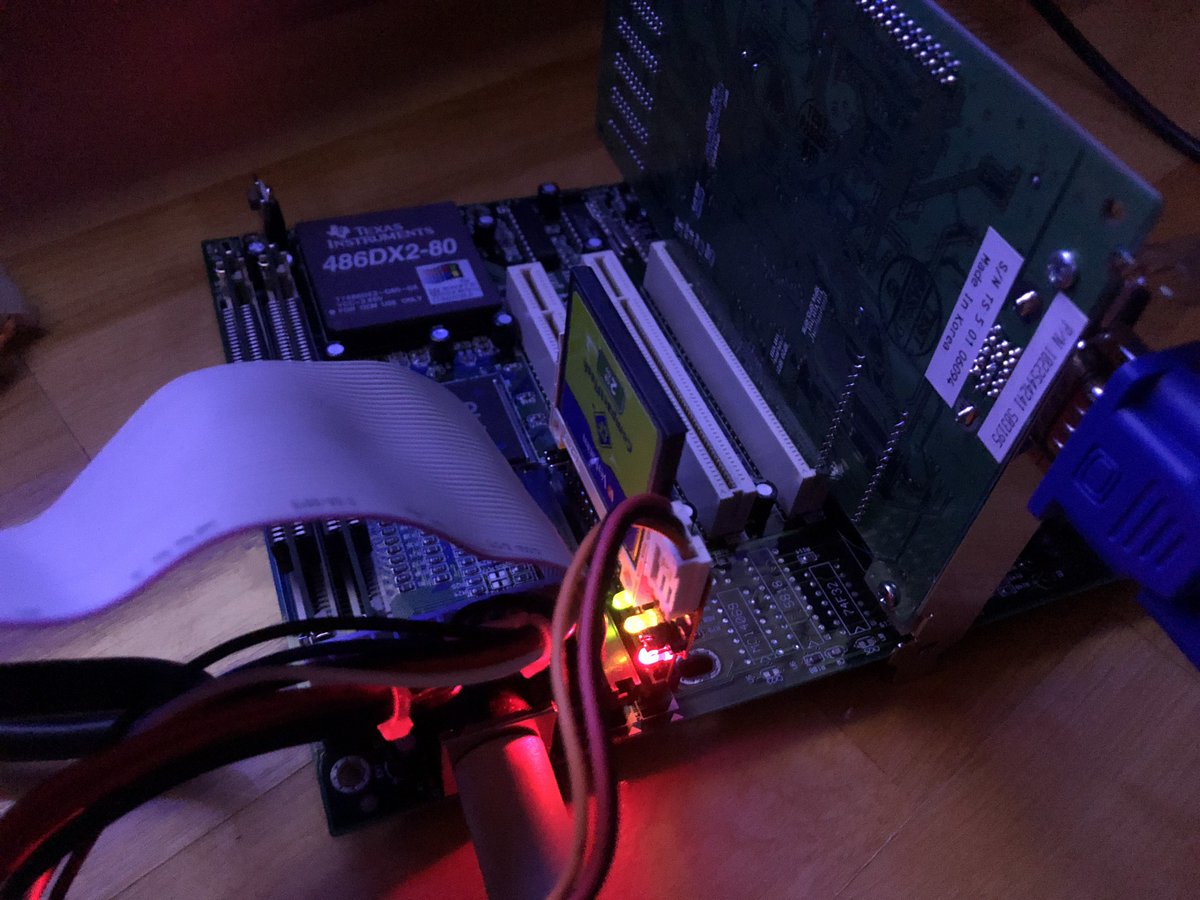
I’m currently building a 486 “retro” PC for fun, out of parts sourced from a combination of my dad having it lying around in the basement, eBay, and generous friends.
My endgoal is to reproduce the PC setup I had as a kid; MS-DOS 6.22, QuickBasic 4.5, a bunch of DOS games and ANSI art demos.
This week I was at point where I had everything to get started : a motherboard and CPU, graphics card, IDE hard drive, power supply, and a Compact Flash to IDE adapter with a 2Gb CF card.
I did not, however, have a floppy disk drive nor a CD-ROM drive. And it turns out installing MS-DOS without a FDD can be a tricky thing!
The options I saw just Googling variations of “install ms-dos to usb” (since on the modern PC, the CF card is connected via USB) were as follows :
- Use Rufus to make a boot USB device : that only works if you want FreeDOS (and it does work great for that), because Rufus is unable to make a MS-DOS 6 boot disk, as acknowledged by its author.
- Use UNetBootin or dd or some other image burner to transfer a bootable disk image from AllBootDisks to USB : this probably does work, but not with CF-to-IDE adapters in my experience. Possibly because the disk/MBR layout of a fixed drive and a floppy must differ…? In any case, I was never able to make a bootable partition that way.
At this point I feel like I need to stress : this is not a sensible project. I could install FreeDOS or even Windows 98’s MS-DOS 7.0 relatively easily, but I don’t want to. There is no good reason.
Regardless, here’s the solution I ended up with. The whole thing assumes that the “modern PC” you’re setting all of that from is running Windows.
Here’s the gist : use a virtual machine to mount the CF card as a virtual hard drive, then use the real MS-DOS 6.22 installer diskettes to create a partition and install DOS on it.
In detailed steps :
- Grab the install disks for MS-DOS 6.22 (The Legacy PC Project hosts it currently)
- Install VirtualBox for Windows hosts
- Plug in your Compact Flash card (I have a 2Gb card, I’ve been told bigger than 2Gb can be problematic)
- Open a Command Prompt with Administrator rights (required for unmounting)
- Type the following to get the list of physical disks in your system.
This allows you to know what the DeviceID of your Compact Flash card is (should look like \\.\PHYSICALDRIVE1)wmic diskdrive list brief
- Find the drive letter associated with your CF card (through the Explorer), and unmount it by typing the following. (replace DRIVELETTER by your drive letter)
This allows VirtualBox to have raw access to the drive.mountvol DRIVELETTER: /p
- Change directory to the folder where VirtualBox is installed (most likely C:\Program Files\Oracle\VirtualBox)
- Type the following to create a raw virtual machine disk (.vmdk) that maps to the whole device of the CF card.
(replace the N in \\.\PhysicalDriveN with the DeviceID you found earlier)vboxmanage internalcommands createrawvmdk -filename CompactFlashCard.vmdk -rawdisk \\.\PhysicalDriveN
- Start VirtualBox with Administrator rights (required for raw disk access)
- Create a DOS Virtual Machine (it’s under the “Other” type, Version is “DOS”), with default settings, except that when prompted about the hard disk, choose the “Use an existing virtual disk file” option and provide the CompactFlashCard.vmdk file created earlier
- Go in Settings for this VM, “Storage” section, click on the “Empty” first floppy drive and click on the diskette icon, and select “Choose Virtual Floppy Disk File…”. Then, browse to the first disk of the MS-DOS 6.22 install set.

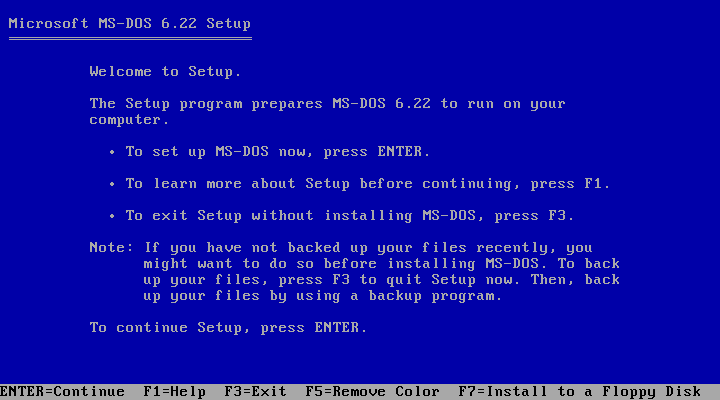
- Start the VM, boot from floppy, and go through the installer.
- When prompted to switch to the next disk, you can choose it from the “Devices”, “Floppy Drive”, “Choose disk image…” menu item.

There should be nothing special in the MS-DOS setup process itself at this point, just make sure you allocated a DOS partition in the hard drive you’ve mounted and set it as active… and you’re done!
You’ll have to use Disk Management to eject the device for your CF card (which is safer than just yanking it), but you don’t really need to assign a letter unless you want to browse its files directly from Windows.

