On July 1st 2019, I started reading and implementing Peter Shirley’s Ray Tracing in One Weekend minibook in C# as a Unity project.
GitHub Project : https://github.com/renaudbedard/raytracing-in-one-weekend
I ended up working through the second and third minibooks as well, and had a blast doing so! So I want to write about what I consider makes my implementation a little bit different, features I added that aren’t present in the books, and generally document the process.
Inspirations and references
What got me started on this project is likely the inescapable buzz of ray-tracing hype on Twitter, but there were other precursors.
I think the first thing that made me want to give it a shot was Aras Pranckevičius’s Daily Pathtracer series, in which he goes in depth about performance and rendering accuracy. I kept referring back to it as I built my version, it’s a goldmine of information.
Peter Shirley’s twitter account is also full of retweets from other people trying their hand at making their first ray-tracer using his books, and I love how this created a community of people rendering… the same exact images as each other! It was motivating and inspiring to watch other people hit milestones in their path tracer, and see in which direction they diverged from the source material.
Runtime Data Setup
I decided to implement my path tracer in C#, inside a Unity project. There’s a few reasons for this :
- I wanted to further explore the DOTS stack, and especially the Burst compiler and the Job system, and see how much performance it could bring to the table
- Having the scene description and other parameters as Unity objects allows me to tweak them easily through the Inspector window
So the whole renderer is built into a massive C# job, AccumulateJob. It can be thought of as a CPU pixel shader that for each output pixel, takes the scene information, shoots a ray, scatters it around and computes the final color value.
There are a few design considerations that using “high-performance C#” (the flavor of C# that Burst compiles) brings to the table, most notably that classes, virtual calls and dynamic allocations are forbidden. The original books used inheritance to implement many of its features (e.g. the hittable base class), so I found ways to work around this.
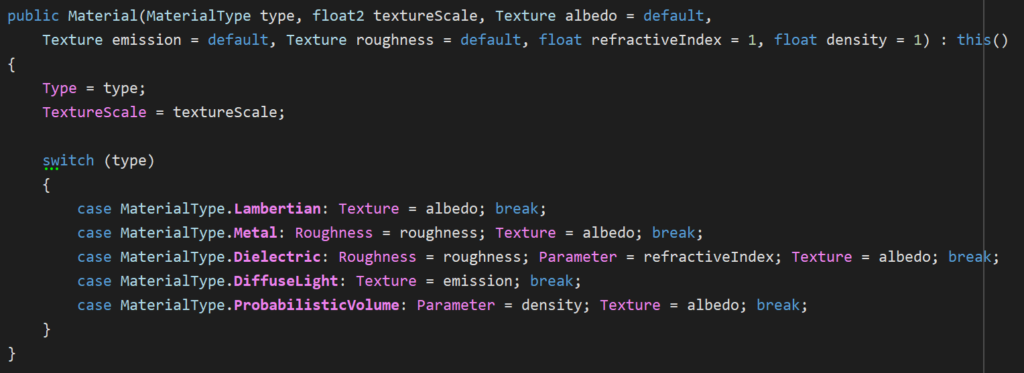
My Material struct is sort of an uber-material that uses an enum to branch out to different code paths depending how it’s been set up.
Likewise, Texture can represent all texture types that I support, including images, checker patterns and Perlin noise.


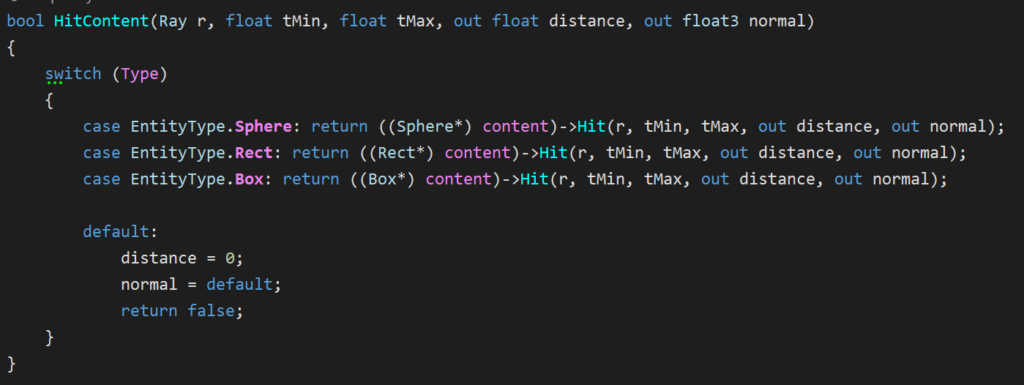
My Entity struct is also backed by an enum, but to split the code a little, I branch out to a content pointer that is represented by another struct. This indirection for sure hurts performance and cache locality, but I liked the extensibility of this design.

Note that I don’t have a concept of instances; instead, my Entity wrapper contains a translation and rotation and the entity’s hit function inverse-transforms the ray into entity-space before performing intersection tests.
BVH Improvements
A chapter of the 2nd book is dedicated to Bounding Volume Hierarchies, one way to spatially partition the scene to avoid intersection tests that aren’t relevant for a given ray. The technique works well, but the way that the BVH is built and used in the book was advertised as the simplest way to do it, which felt suboptimal, so I took a stab at making a better version.
Better BVH Partitioning Heuristic
Whereas the book’s version partitions nodes along a random axis every time (as long the node contains more than one hittable), my version always partitions along the axis in which the node is the largest.
Also, the book’s algorithm sorts hittables according to the partition axis, then splits the entity list in half right in the middle. This way of doing it does not take into account the size of the entities, and can result in unbalanced nodes if their size has a lot of variance. My version takes into account entity size and attempts to split in the world-space middle of the node along the chosen partition axis.
Here’s a heat map of BVH node hits of the book’s algorithm (left) versus mine (right) in the first book’s final scene. This visualization (credit to mattz’s ShaderToy for the color ramp) is normalized such that the hottest color is the highest number of hits, but in my version, the number of hits is also reduced.
Optimized BVH Node Traversal & Testing
Another thing is how the BVH is traversed. The book hit-tests nodes recursively, which is easy to implement but has more overhead and is worse for cache locality. I changed the algorithm to an iterative version with a stack-allocated “stack” (actually just an array) which builds a list of candidate leaf nodes as it traverses the BVH.
And finally, the book’s AABB hit test for each BVH node can be optimized. I found a fast GLSL implementation by Roman Wiche that appears to be the state of the art, and precalculated the inverse ray direction to avoid needlessly reevaluating it if there is more than one AABB test for a given ray (which there usually is).
All of these changes have a noticeable effect on performance, with the iterative traversal having the biggest impact. Here’s a comparison of the different techniques, all in the same scene (482 entities, 963 BVH nodes).
| No BVH | 0.34 MRays/s |
| Random axis, median hittable split, recursive | 2.64 MRays/s |
| Biggest axis, median hittable split, recursive | 3.06 MRays/s |
| Biggest axis, true center split, recursive | 5.95 MRays/s |
| Biggest axis, true center split, iterative | 11.7 MRays/s |
| Biggest axis, true center split, iterative (optimized AABB hit test) | 12.65 MRays/s |
Job System
One of the first things I added to the project was the ability to do progressive or batched rendering. This allows me to set a high target for samples-per-pixel, but render several batches to get there, and display a preview of the current results when a batch is complete.
To achieve this, I use a chain of Unity jobs :
Accumulate (now renamed to SampleBatch) is the main job and performs the path tracing for a given batch size, which represents how many samples will be performed in this accumulation pass. The format of its output is a float4 where RGB is a sum of the color of all accumulated samples for that pixel, and A holds the sample count.
Combine does a few simple operations :
- Divide the accumulated color by the sample count
- Duplicate lines (when using interleaved rendering, which is detailed in the Added Rendering Features section)
- In debug mode, mark pixels with no samples and NaN values as special colors
Denoise is an optional denoising step, which is detailed in its own section below.
Finalize converts the 96-bit HDR input to the 32-bit LDR output texture format and applies gamma correction. This is where tone-mapping would be performed as well, but I never got around to adding it.
Apart from the accumulation buffer and the output texture, no buffers are shared between jobs, so they can technically all run in parallel. To ensure this, I use a buffer pool for each required type, and a job queue that frees up used buffers as a job is completed. It’s tricky to show this system without taking a dozen screenshots, but take a look at the implementation for Raytracer.ScheduleCombine() for reference; it’s a relatively straightfoward use of this system.
Cancelling Jobs
Unity jobs are fire-and-forget, and there is no mechanism to cancel them. This is fine, because jobs are meant to terminate in at most 4 frames, but in my case, an accumulation batch or a denoising pass can take mutiple seconds, so I wanted a way to forcibly abort all active jobs.
To achieve this, I pass a NativeArray<bool> that contains a single element to all my long-running jobs. This is a cancellation token, which can be controlled externally and tested from within the job as it runs. From the job itself, it’s as simple as periodically testing whether the 0th element of that buffer is true, and earlying-out of the job if so.
Unity has systems in place to make sure you can’t modify a native buffer while it’s in use by a job, but there are ways around them…

It’s sketchy, but it definitely works!
Optimal Scheduling
In the first iteration of my job system, scheduling roughly worked like this :

While this worked, there are side-effects :
- Unity’s update rate dictates how soon a new job can be scheduled after the preceding job completes. This means that even if jobs are instantaneous, there will be a delay before a new one gets scheduled.
- Dependent jobs (e.g. a
CombineJobfollowing anAccumulateJob) will not naturally chain into each other, again introducing latency because of the manual polling fromUpdate().
My current version still polls for job completion in the Update() callback for each job queue (JobHandle.Complete() must be called from the main thread, and this is where I return used buffers to the pools), but whenever an AccumulateJob is scheduled, it also schedules a CombineJob, a DenoiseJob (if applicable) and a FinalizeJob as dependencies of the accumulation pass.
By passing the preceding job’s handle (or its combined dependencies) as a dependency to the next job and scheduling all at once, jobs naturally flow into each other, and idle time is eliminated. I also ensure that there is always at least one AccumulateJob waiting in the pipeline (as long as there are batches to trace), to ensure the system is never starved for work. The result of this is a fully pinned CPU on all 12 hardware threads!

Profiling Jobs
A common metric to test the performance of a path tracer is rays per second, usually counted in millions. This is more useful than milliseconds per frame because it’s resolution agnostic. It is, however, scene-specific : not all rays take the same amount of time to trace, and more complex scenes will make the performance appear to fluctuate wildly, so take it with a grain of salt. It’s obviously also hardware-specific, and the number for a given scene will increase on a faster system.
To obtain this number, it should be as simple as surrounding the path tracing code with a stopwatch, and counting the number of rays you’ve traced. Well, it would be simple, except that being in the Job System + Burst world makes it a bit trickier…
- You can schedule jobs, but it’s not fully clear when a given job will start on a worker thread
- I could not find a way to get a callback after a job is finished running
Stopwatch(the most common way in .NET do obtain a high-resolution timer) is a class, so you can’t use that in a Burst job
My solution is, again, a bit out of the ordinary, but it works :
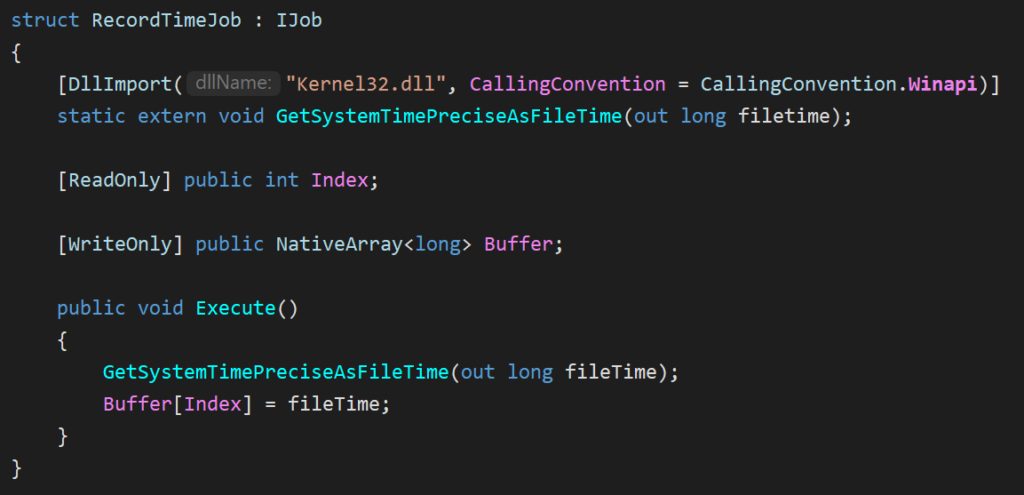
- I allocate a timing buffer, a
NativeArray<long>that holds 2 values. - When scheduling
AccumulateJob:- I first schedule a
RecordTimeJobwithIndex = 0 - Then schedule the
AccumulateJob - Then schedule a second
RecordTimeJobwithIndex = 1(using dependencies to chain all 3 jobs together)
- I first schedule a
- In the update loop, whenever this job chain is complete, I can determine an accurate time span by subtracting the two values!

GetSystemTimePreciseAsFileTime is touted as having “the highest possible level of precision”, which is good enough for me. Sadly, this will only work on Windows, and starting from Windows 8. There’s probably a similar native API that could be called on other platforms to have high-resolution system timers though!
Perlin Noise
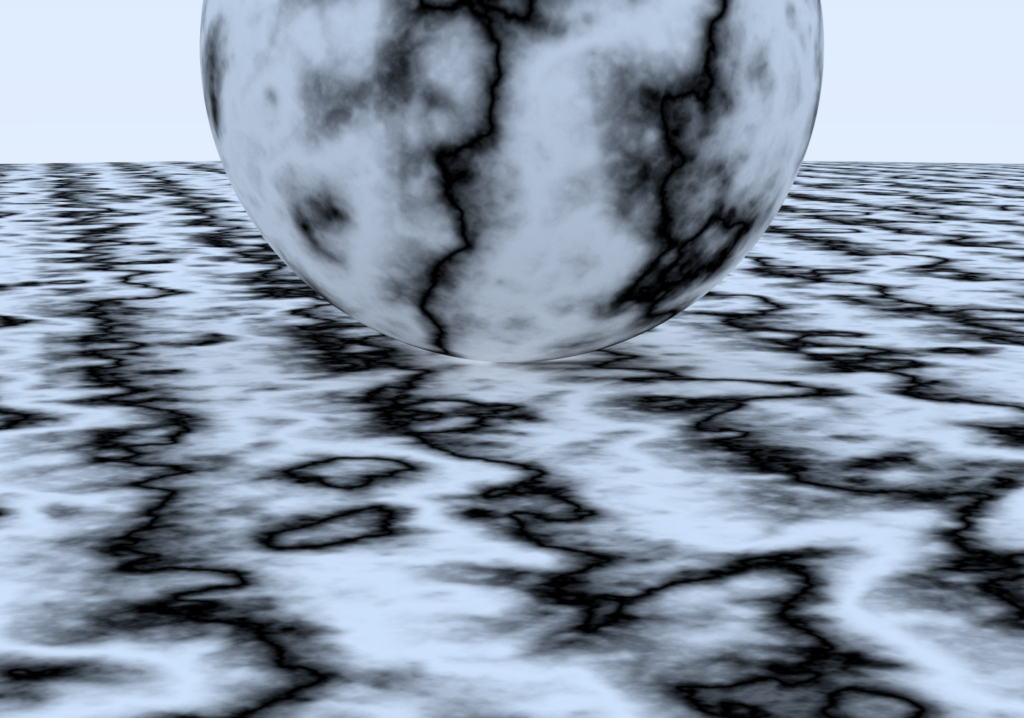
Chapter 5 of The Next Week is about Perlin noise. I initially implemented it exactly as the book describes, but I found it a bit messy. I wanted to better understand what was going on so I could modify it, and possibly optimize it.
I then found an in-depth deconstruction of Perlin noise by Andrew Kensler which provides more than enough detail to write up your own implementation. I integrated the suggested stronger hash modification (one permutation table per axis instead of a single one), and adapted the algorithm to work in 3 dimensions (which includes generating evenly distributed 3D unit vectors, using an algorithm from this source).
The result is almost visually identical to the book’s rendering, but my Noise function feels nice and tidy!
Blue Noise
As a ray’s path is being traced, there are many random decision points, like random scattering on a diffuse surface or sub-pixel jitter for anti-aliasing. In One Weekend uses a uniform random number generator, which results in white noise. I’ve read much about the advantages of blue noise from Twitter advocates like Alan Wolfe, but for a long time I struggled to understand how to correctly apply it to my path tracer’s random sampling.
In an attempt to mitigate visual clumping of random samples, I first tried stratified sampling, somewhat ignoring the warnings about the “Curse of Dimensionality” from The Rest of Your Life. My interpretation of it was to partition batches such that each sample in a batch had a partition of the random domain. I found it challenging to implement, and was only able to make it work for the first diffuse bounce (partitioning the tangent-space hemisphere in equal parts). In the end it did basically nothing for image quality, so I scrapped it.
Dennis Gustafsson’s post on blue noise made it really clear to me that it can to be implemented as a screen-space random data source. I used the 256×256 RGB 16-bit-per-channel HDR blue noise textures created by Christoph Peters, cycling through 8 texture variations over time. Because those textures are fully tileable, I can vary the starting texture coordinate according to a per-batch random seed, and for additional dimensions (more than 1 random sample per pixel within a batch), I apply a texture coordinate offset based on the R2 quasirandom sequence as suggested in Gustafsson’s article.
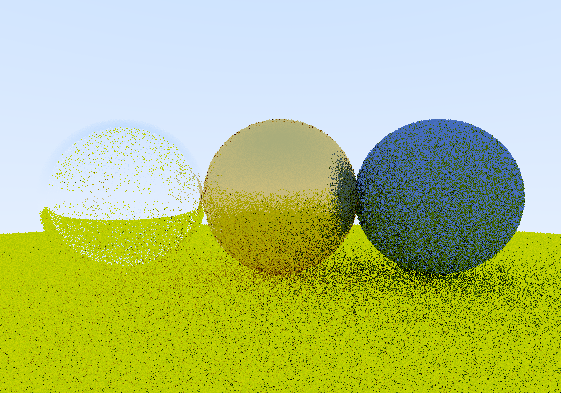
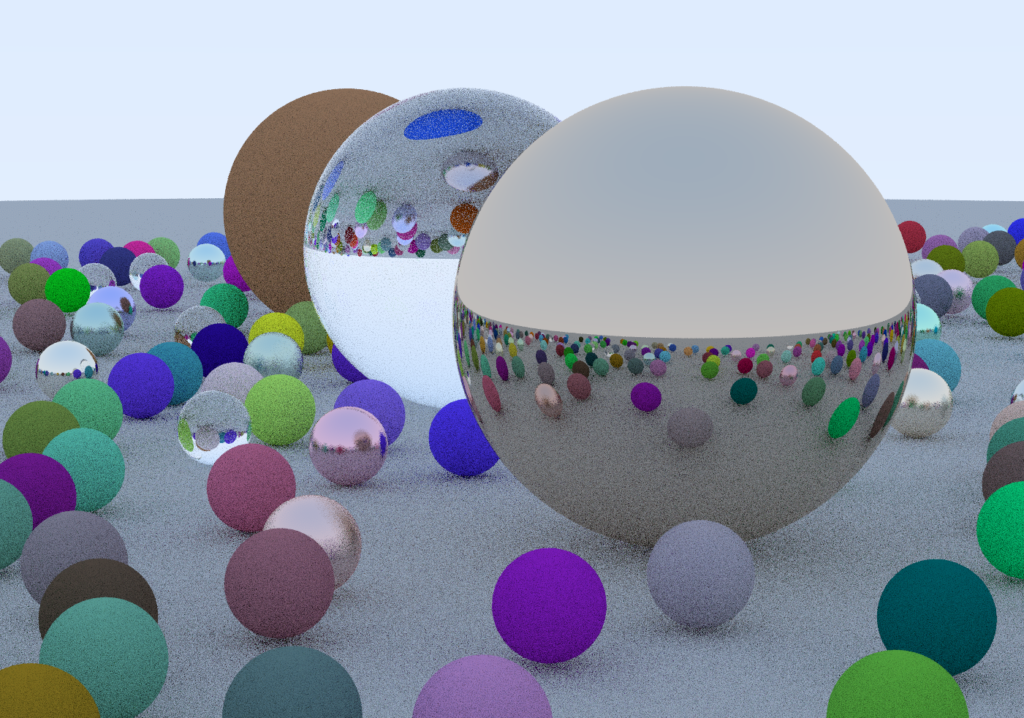
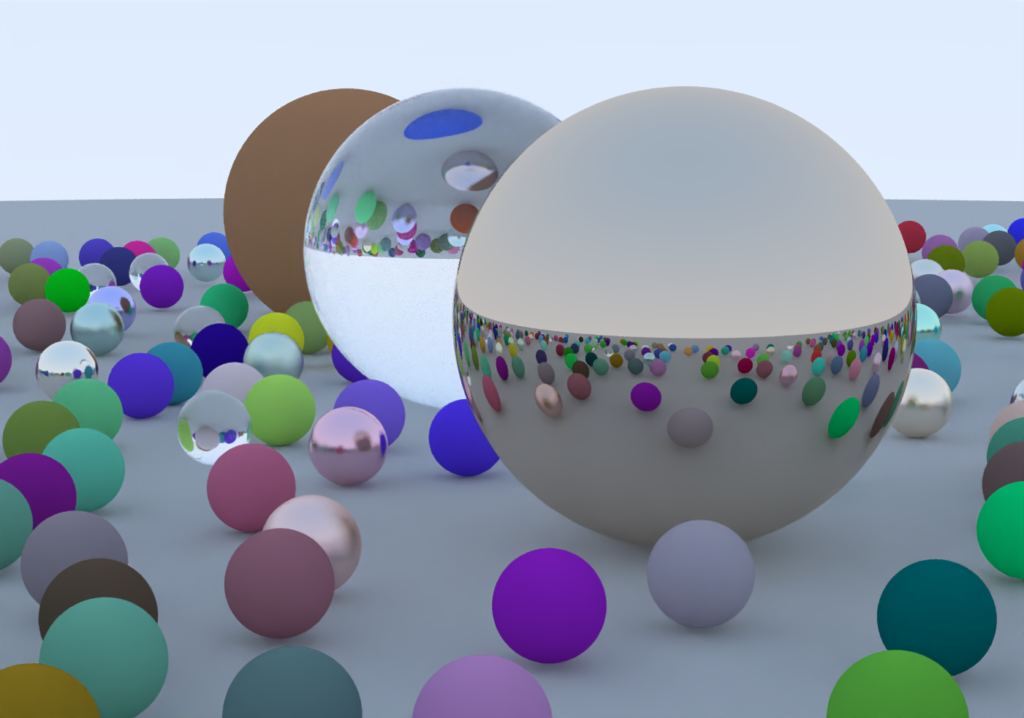
The result is a dramatic improvement in image quality, especially with a low amount of samples per pixel. Here’s the same scene at 1spp with white noise (top) and blue noise (bottom).
While it does affect performance, it’s not a dramatic impact, and I think it’s well worth it.
| White noise | 12.75 Mrays/s |
| Blue noise | 11.5 Mrays/s |
Denoising
One way to clean up renders without needing the path tracer accumulate tens of thousands of samples is to run the output through a denoiser. I implemented two options :
- Intel Open Image Denoise 1.1, for CPUs supporting SSE 4.1
- nVidia OptiX AI-Accelerated Denoiser 7.0, which runs on nVidia GPUs
Intel Open Image Denoise
Intel OIDN was very easy to use. The runtime library is offered as a precompiled DLL, the documentation is clear and the API concise. Once a straightforward C# interop layer is written, usage of the API fits in 11 lines of code including initialization!
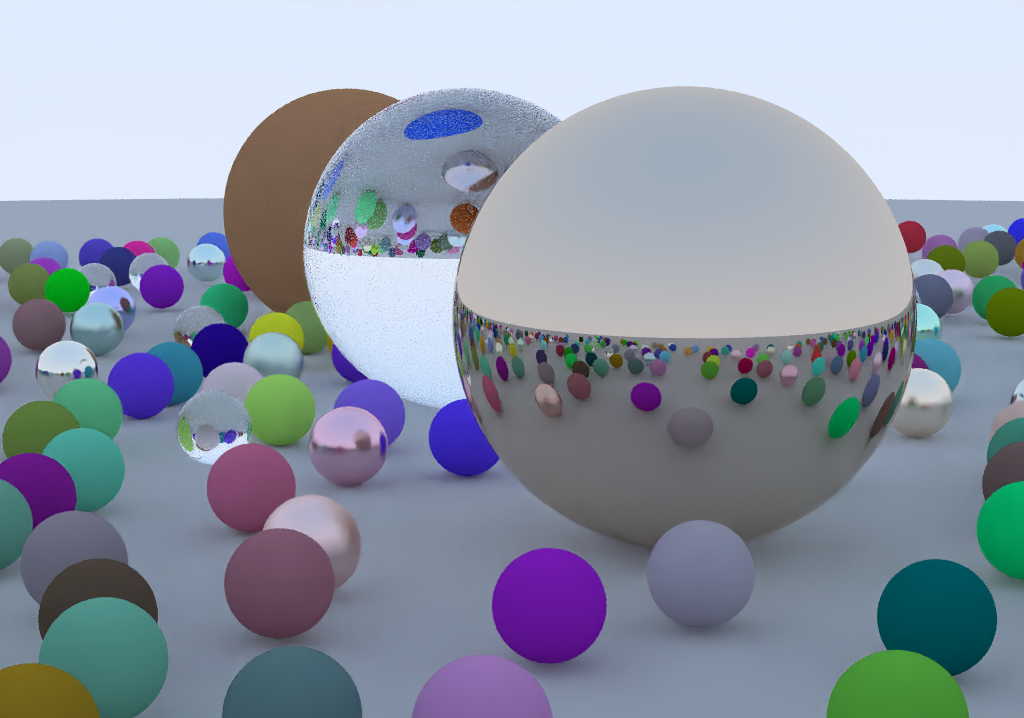
And it looks amazing.
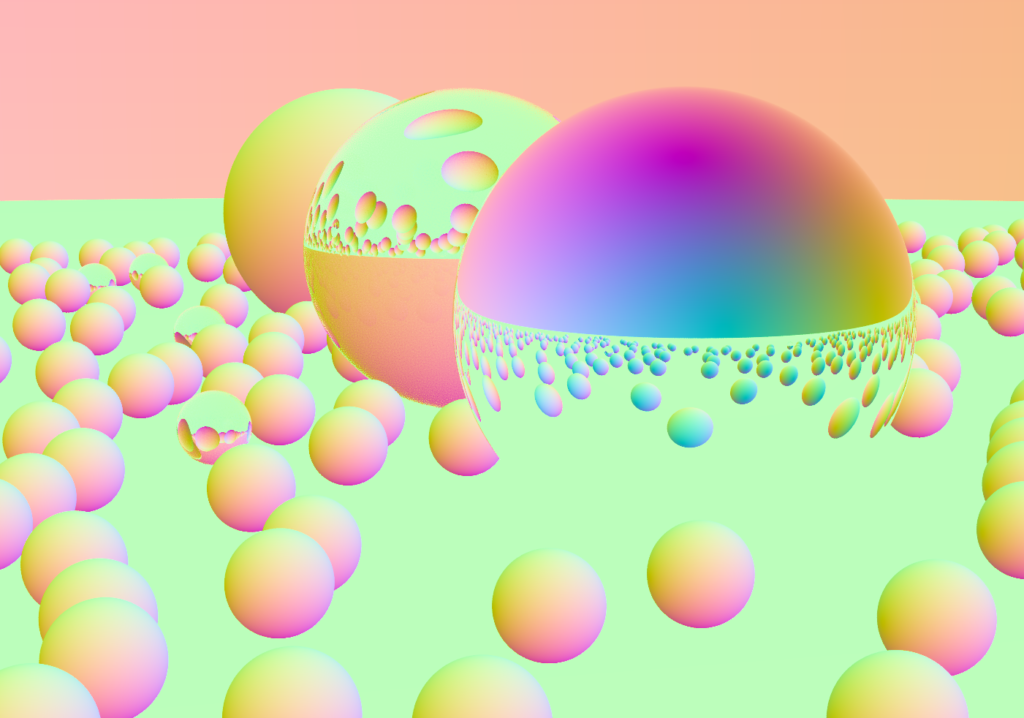
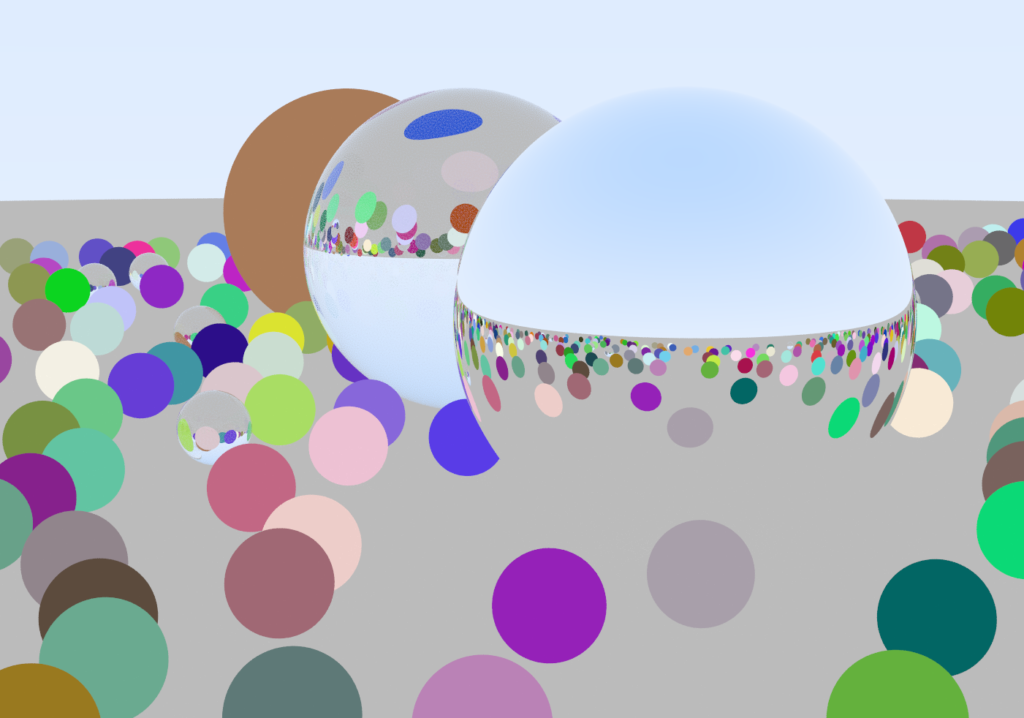
While you can just give OIDN a color image and let it do its thing, it’s better to give it albedo and normal buffers as well so that object edges are better preserved, so I added those outputs as well. The documentation states that for perfect specular materials (dielectrics or metals), one can use a constant value or a fresnel blend of the transmitted vs. reflected albedo and normal. I chose to do a cheap approximation and just keep the first non-specular material hit; it does a better job at keeping detail in reflections/refractions than using a constant albedo and the first hit’s normal.
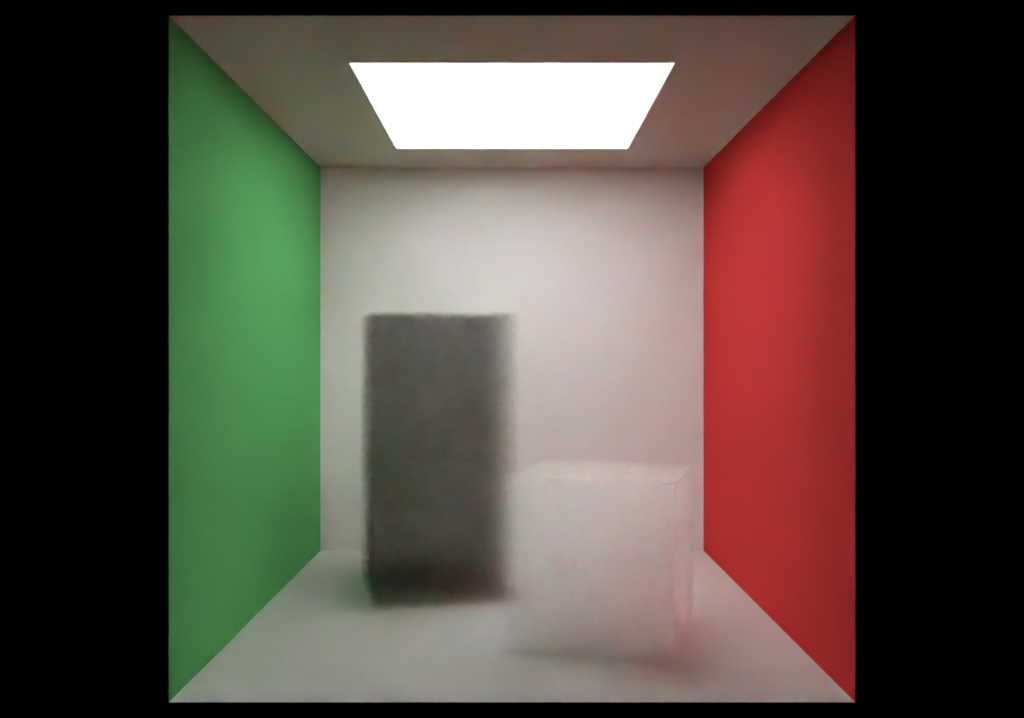
The only sad thing about it, is that on my Core i7-5820K, it’s not exactly quick. Denoising a 1920×1080 frame takes about 2 seconds, but at least it’s a fixed cost and does not depend on scene complexity or sample count.
nVidia OptiX AI Denoiser
nVidia’s denoiser was significantly harder to work with, but has its advantages. At first, I couldn’t figure out how to use in a C# context. Their website offers an SDK, but no directly usable libraries for the denoiser itself. I ended up asking on the DevTalk forums about the way to go, and with the directions they gave me and by inspecting the official samples, I was able to build a pretty light native library that provides all necessary entry points to use the denoiser from C#.
Usage isn’t trivial either. Because OptiX works with CUDA buffers, there’s a bunch of initialization and copying around from CPU memory to GPU memory required to perform denoising.
Quality-wise, it doesn’t compare to Intel OIDN. There is no support for normal buffers in OptiX 7.0, so I couldn’t feed it into the denoiser, but it does support a LDR albedo buffer input.
However, it runs an order of magnitude faster. The same 1080p frame takes about 110 milliseconds on my GeForce GTX 1070! This makes it possible to denoise at interactive rates for smaller buffer sizes.
Added Rendering Features
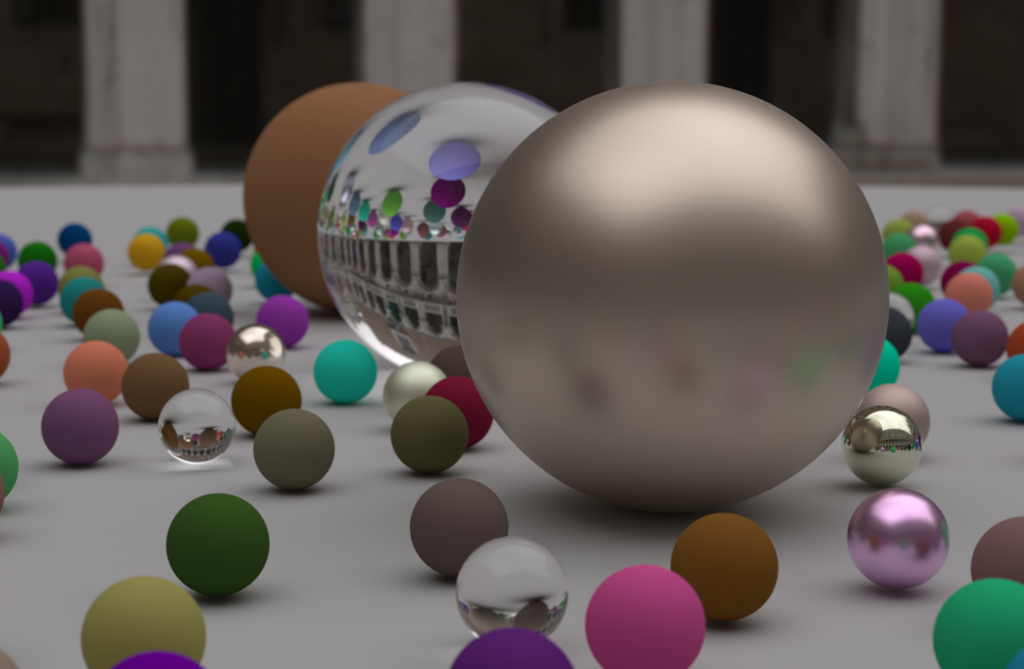
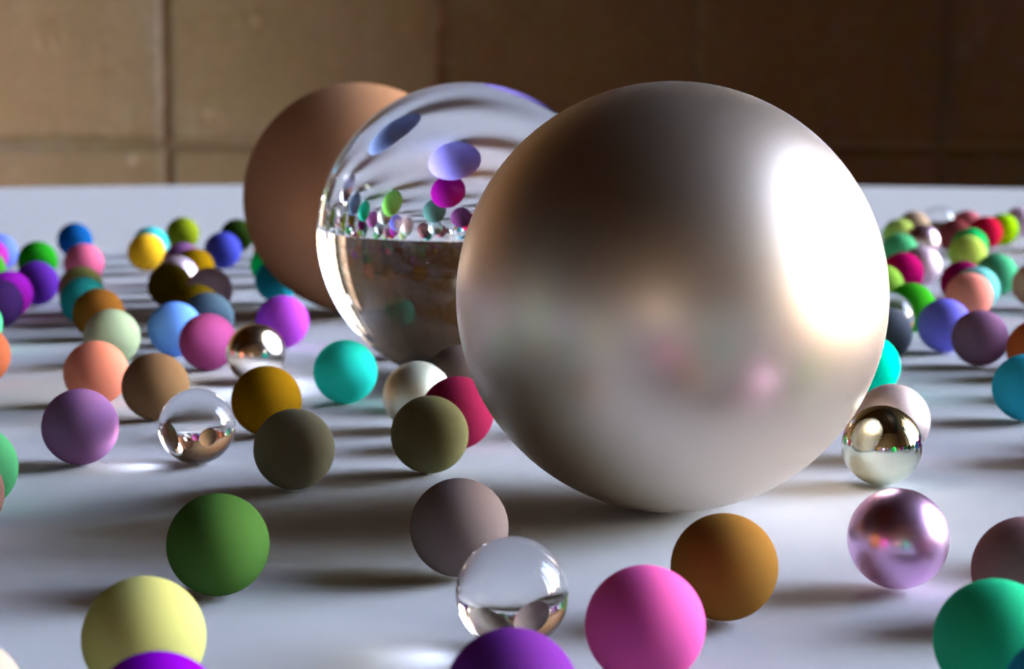
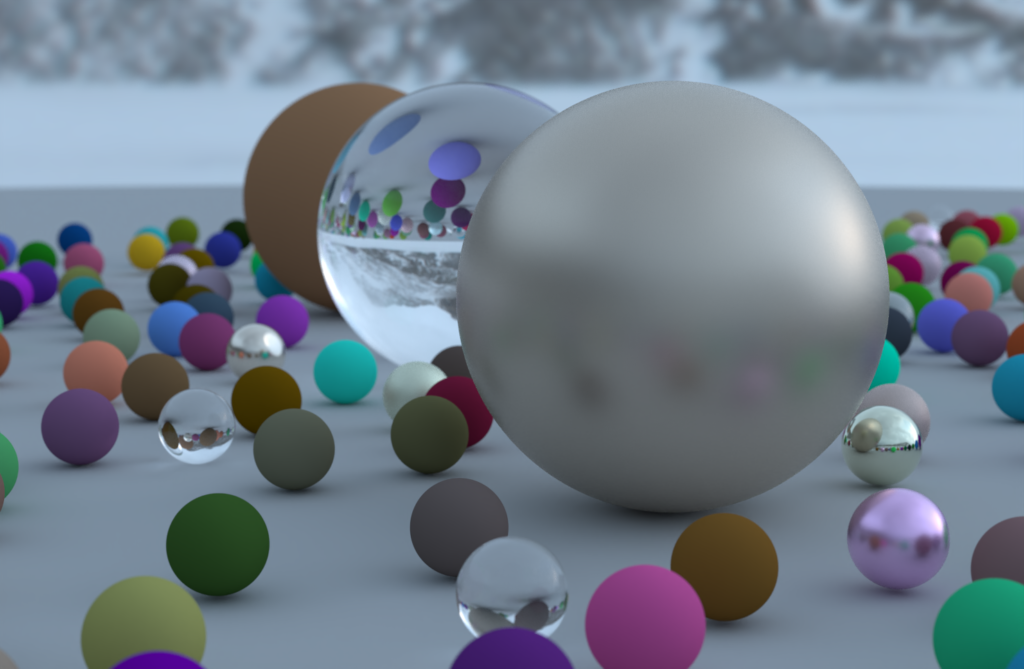
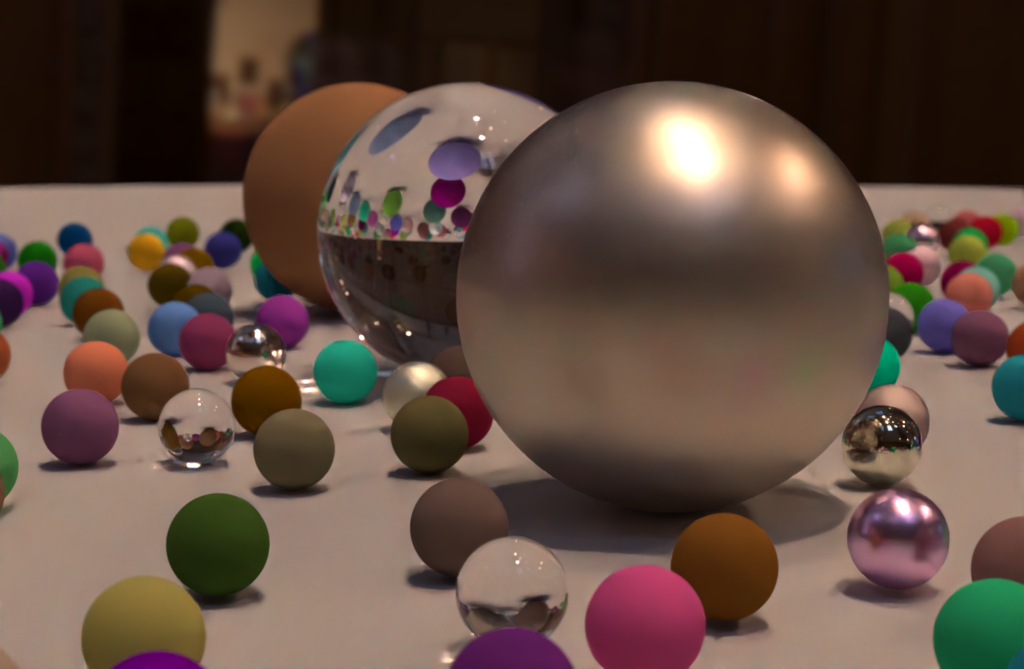
HDR Environment Cubemaps
While the book’s gradient sky looks nice and minimalistic, I really wanted to add support for light probes as the background for path traced scenes. There were a few challenges with this feature :
- I had to upgrade to Unity 2020 Alpha in order to get raw access to a cubemap face’s pixel data in its original data format
- It wasn’t instantly clear how to implement the equivalent of HLSL’s
texCUBE()to sample my cubemap faces, but I hacked together something that works based on this 2013 blog entry by Scali, which helped me understand the general idea. My version has a ton of branching though, so it certainly could be optimized.
Roughness Textures for Metals
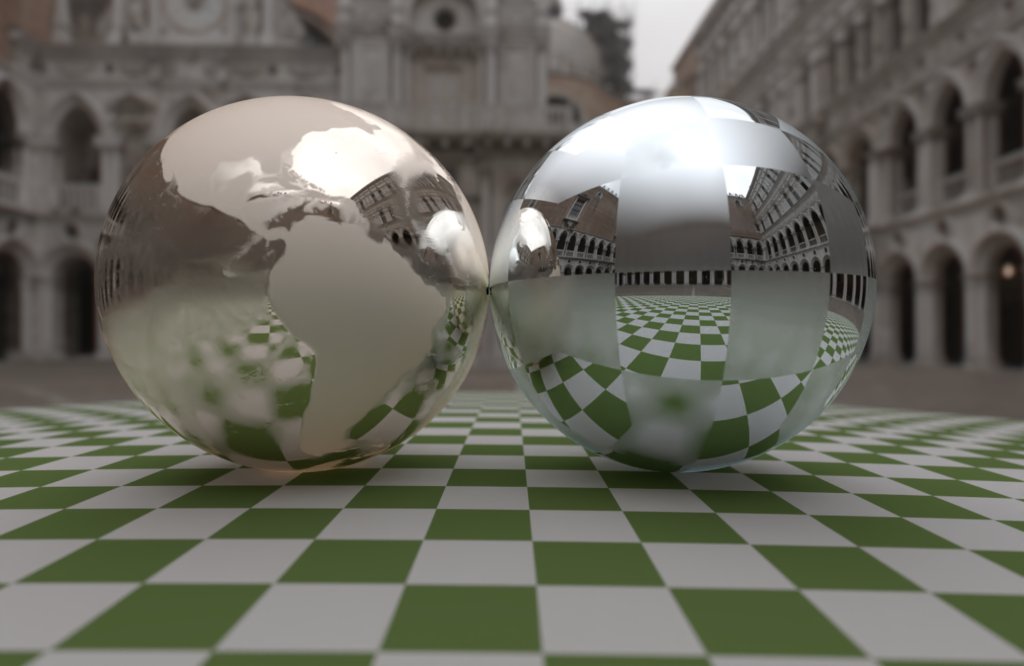
This was a simple one : instead of a constant value for fuzz in metals, provide a generic Texture such that it can be sourced by a pattern or an image. Looks great with cubemaps!
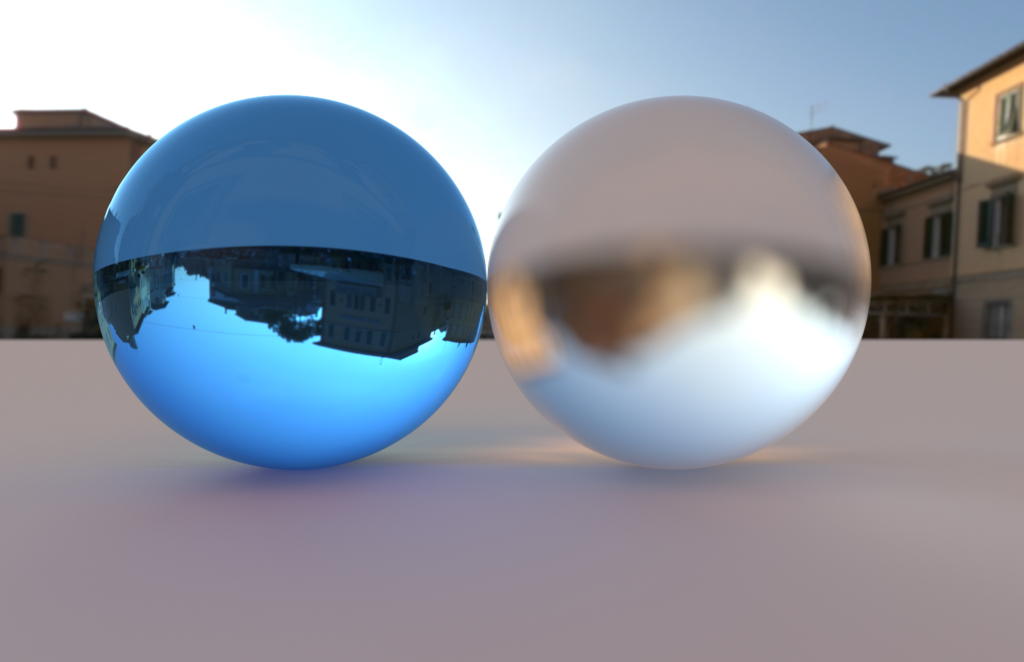
Tinted and Frosted Glass
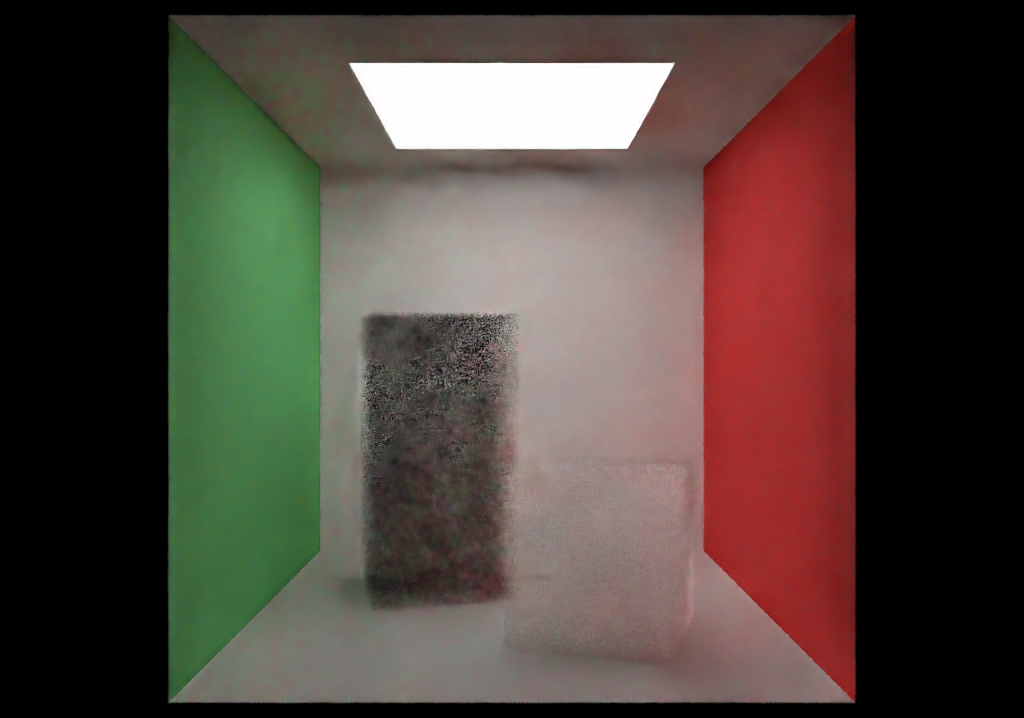
Tinted glass was also extremely simple : just make dielectrics sample a Texture instead of defaulting to white. It’s more like the surface were tinted rather than the material of the glass itself. I think probabilistic volumes are a better fit if the tint should be in the object’s volume.
Frosted glass started out simple, but I had to iterate a bit to get it right. After posting an initial version on Twitter, Trevor David Black guided me to a more accurate way to integrate roughness for dielectrics. The main idea is that roughness represents microfacet perturbations, and it should be applied to the surface normal before doing all the reflection and refraction math.
Interlaced Rendering
When rendering complex scenes at a high enough resolution, even at 1 sample per pixel, rendering of a single batch can take several seconds. To keep the scene controls interactive in this situation, I added an interlaced (or interleaved) sampling option that only draws lines of a certain multiple. The batches will run through a sequence of line offsets such that all lines are eventually filled out, and the full image is accumulated for the requested amount of samples per pixel. To avoid black gaps between missing lines, the Combine phase duplicates lines when samples are missing, looking around for existing data.
Scene Editing
While I appreciate how straightforward scene building in the books is, I wanted to try a data-driven approach that allowed me to preview what a scene looks like before spending time waiting for it to be rendered. So I exploited Unity’s Inspector to provide an editable scene description, and used Gizmos and CommandBuffers to provide an edit-time preview of the scene in the Game view.
The gizmos representing objects in the scene are selectable and draggable, even though they don’t have a GameObject representation in Unity’s scene hierarchy.
Above is the world makeup of In One Weekend‘s final scene—there is no custom code required to build it… except that Random Entity Groups are specially modeled so they can support building this particular scene. 😅
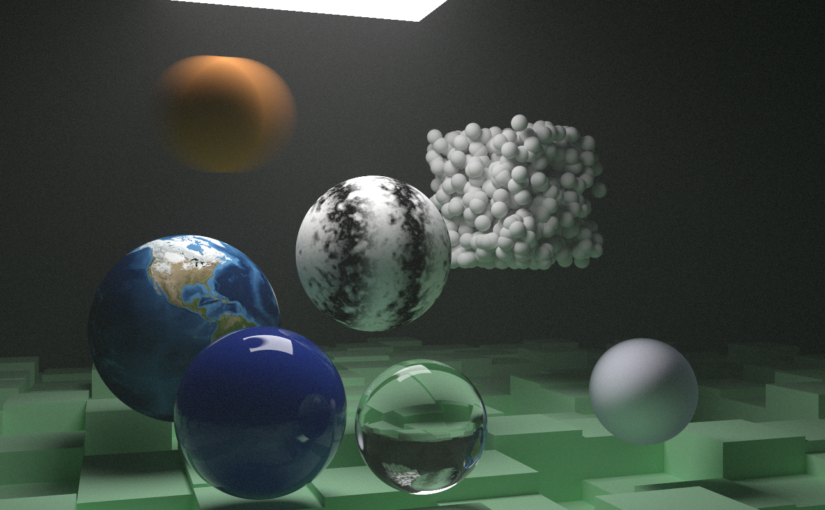
However, it can be used to build different-looking scenes. Here’s a quick planet system kinda scene I built using the same random scene generator, but with different data :

All scene properties (material type and properties, object transform, camera setup) can be customized in the inspector, even as the scene is being rendered.
Scene description objects have two representations in code :
- A serializable, editable data class that contains lots of Odin Inspector attributes for nicer inspector presence (all contained in the
Scripts/Datafolder) - A leaner, immutable struct version for runtime usage, which usually contains code for rendering this entity or concept (e.g.
Material,Sphere)
My only regret with this system is that I depend on the Unity editor for most things. If I had gone with Dear ImGui instead, I could make a faster standalone build and still allow for scene editing. Maybe one day…
Loose Ends & Conclusion
While it’s been smooth sailing for most of the project, some features did not work out like I wish they would have.
- I tried replacing the book’s metal BRDF with importance-sampled GGX, but the math went way over my head and I gave up on it.
- While importance sampling in general appears to work, I don’t think my math is right at all. For instance, I should be able to change the random distribution for lambertian scatter and still get the same visual results (because factoring in the PDF should even everything out), but that is not the case.
- I tried doing a SIMD BVH traversal mode, but all I tried gave me worse performance, so I abandoned it.
And because making a path tracer is a never-ending project (as Peter Shirley alluded to in the title of the third book), there’s a dozen areas where I could keep adding things, but I think now’s a good time as any to stop… for a bit.
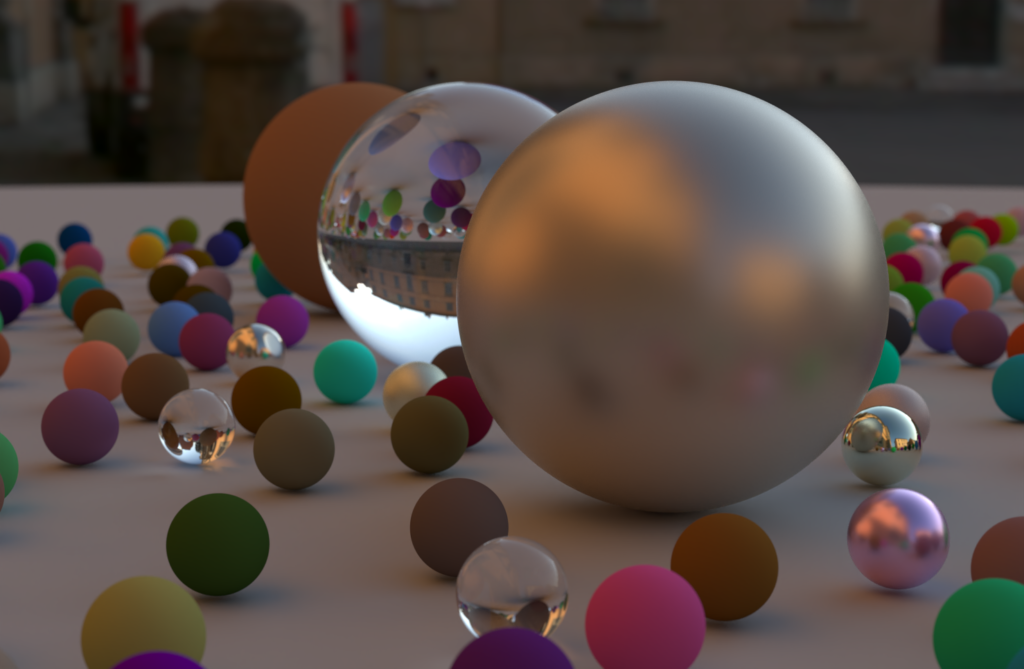
If you got this far, thanks for reading, and special thanks to my amazing wife MC who let me work on my balls night after night after night, despite not really understanding the appeal. ❤️







This is a really neat blog post and I learnt lots.
I’m glad you found my blue noise sequence (R2) useful.